WPLift is supported by its audience. When you purchase through links on our site, we may earn an affiliate commission.
NitroPack Review: Boost Your Website’s Speed Easily
In 2023, website speed is an important aspect and plays an important role in determining the success of a website. We all know that a slow-loading website can lead to disappointed visitors, lousy conversion rates, and affect your search ranking, but the truth is, speed optimization can be a little complicated. You need to take care of caching, code optimization, lazy loading, prefetching, CDNs, compression, and whatnot.
On top of that, Google’s recent Page Experience update introduced the Core Web Vitals metrics like Largest Contentful Paint (LCP) and First Input Delay (FID) as ranking factors, so any page with a bad page experience or load speed can significantly affect its search rankings.
Taking care of all this can be a complicated process, but there’s a straightforward solution in the market.
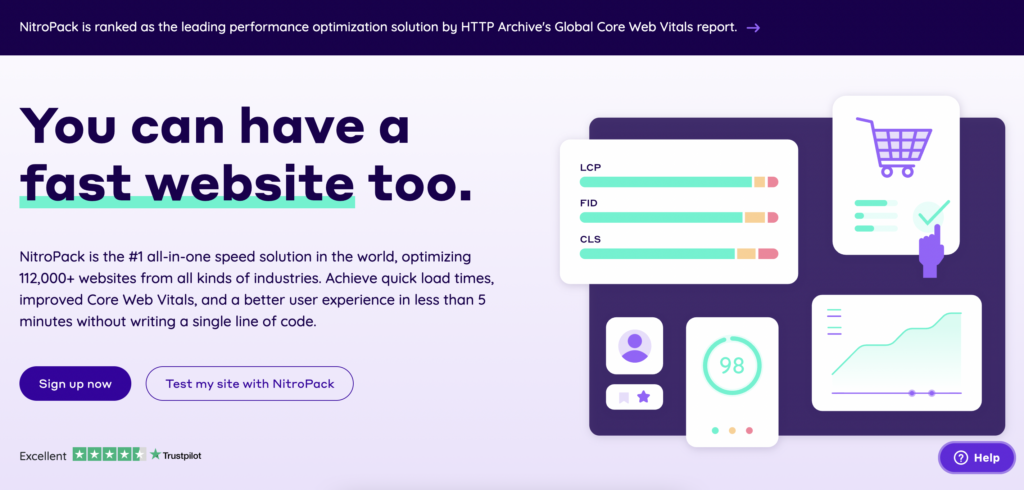
NitroPack is a robust cloud-based speed optimization platform for WordPress websites. In this hands-on review, we’ll take a closer look at NitroPack, explore its features, and share our final thoughts on it.
Let’s dive in!
NitroPack Review: Overview
NitroPack is a robust one-stop website speed optimization tool. It successfully integrates with the most popular CMS platforms such as WordPress, Magento, and OpenCart.
Although it has loads of features and advanced technologies to boost website speed, it is super easy to use. Even if you are not a techie, it won’t take you more than 10 mins to set it up and see the difference in performance on your website.
And since it is a cloud-based service, all the heavy operations are done on the server end. This further reduces the resource overhead on the website servers.

Regarding features, you get an advanced caching mechanism, a complete image optimization stack with lossy and lossless compression, a built-in CDN, a unique resource loader that rearranges the way resources are fed to the main thread, and many other industry-standard speed optimization techniques.
If you have very low traffic on your website (<5000/mo pageviews), you can get it for free and see the difference in performance. If you already have an established website, you can go with a paid plan starting at $17.50/mo, paid annually. You get two more pricing options depending on the website traffic and CDN bandwidth.

For this price, you can boost your website significantly and leave the speed optimization task upto NitroPack on automation while you can focus on growing your website.
Let’s take a closer look at the notable features of NitroPack.
NitroPack Features
NitroPack is loaded with features that can help you speed up your website. Here are some of the few prominent ones.

Caching
NitroPack started as a caching service, and this resulted in being caching their core functionality. You get page and browser caching with all plans, and on top of that, you get smart features such as cache invalidation and preloading to make sure the systems are maximizing cache usage.

With the granular controls, you can exclude some content/code/resources from being cached. With this, you won’t need a separate caching plugin installed on your website.
Built-in Content Delivery Network (CDN)
While most caching providers do not offer CDN to help speed up content delivery, NitroPack has a built-in CDN that starts working automatically once you successfully set it up. This feature is included in all plans and does not require you to pay extra. If you are worried about SEO issues related to CDNs, NitroPack takes care of that too. The system automatically adds a canonical header to content pieces on their CDN with respective links to the original sources.
Image Optimization
With this feature, you don’t have to use an additional plugin to compress the images on your website, as NitroPack can do it too. NitroPack uses lossy compression to reduce the image file size and converts the images to WebP while storing an original version as a backup for web browsers that don’t support WebP. This feature is enabled by default and starts working automatically after installation.

Proprietary Resource Loader
Due to the complexity of websites today, it was difficult to tackle the default javascript execution problem, but NitroPack solved this with their proprietary resource loader that rearranges the order in which resources are fed to the mail thread. All of this is done on the cloud, so there’s minimal load on your website servers.
In addition, you get a code optimizer to minify and compress the code before processing it. If you have hosted your website on a reliable and popular host, the chances are that your website already is using an HTML, CSS, and JavaScript compressor to reduce server load. NitroPack’s compressor also bundles multiple CSS/JavaScript files into a single file, thus reducing the number of browser requests.
If you have unused CSS on your pages, NitroPack can reduce unused CSS (RUCSS) by not loading them and lowering the total number of bytes that have to be downloaded.
Hands-On with NitroPack
The best part of using NitroPack is that it is super easy to set up.
Before you can set up NitroPack, sign up for the plan that suits your needs (more on this later). I am going with the free plan for this tutorial.
Once you are in your NitroPack dashboard, firstly, you need to add the website to your NitroPack Dashboard.
Next, you need to install the NitroPack connector plugin on your WordPress website.

Finally, you need to set up the optimization, but it is made simpler too by the help of presets. So, if you are not a techie, you can choose an optimization mode and configure it based on your needs. If you want to manually control the settings, you can do that.
You get four optimization modes to choose from:
- Standard Mode
- Medium Mode
- Strong Mode
- Ludicrous Mode
The modes are based on the intensity and aggressiveness of the optimization techniques used. If you want basic optimization, you can go with the Standard or Medium mode, or if you want to heavily optimize your website’s speed and performance, you can go with the Ludicrous mode.

I recommend easing into it and not enabling the Ludicrous mode directly as it might not be the best choice for some websites. This guide can help you choose the right optimization mode.
NitroPack Performance Results
To test NitroPack, I am using a standard WordPress website with minimal content. Since mobile and responsive devices have a significant share, I am going to compare mobile results with Lightspeed.
Before activating NitroPack, this is what the PageSpeed score looks like.

While the score is not that fancy for a standard website with just a few plugins, I installed NitroPack to see the changes, and it was… phenomenal!
With the same setup, I got a perfect 100 performance score, with the first contentful paint being loaded in under 1 second.

And, the best part of it all? It took me less than 5 minutes to set it up. While the results may vary for websites with loads of content, the performance difference is evident enough to see the efficiency of NitroPack.
NitroPack Support
NitroPack offers standard email support with all plans, and the premium plans come with free installation and configuration.

They also have a detailed knowledge base that can help you find a solution to almost any problem you might encounter using the platform.
NitroPack Pricing
Now that we’ve covered the features and performance, let’s talk about NitroPack pricing.
If you have a website with low traffic or less than 5k pageviews per month, you can start with the free plan. You’ll get access to all features, but there’s a small catch. The free plan comes with a small NitroPack badge placed in your footer.
If you want to get rid of the badge or if your website exceeds the pageviews limit, you can upgrade to a paid plan starting at $21/mo. For this price, you get a 50k/mo pageviews limit and 25GB/mo CDN bandwidth.

If you have higher requirements, you can go with the growth or scale plan, which costs $51 and $176 per month, respectively.
If you plan to use NitroPack for a long period, I recommend you choose the annual subscription and get two months free on all plans. Also, you get a 14-day money-back guarantee with all paid plans.
Verdict
Page speed can’t be and shouldn’t be neglected, and if you want your visitors to stay and pages to rank higher on Google, you need a speedy website, but if you are going to do it manually, it’s going to be a long and tedious process.
To save you from all that hassle, NitroPack is a perfect all-in-one solution that comes with everything you need and is dead simple to set up.
If your website is generating revenue, you should consider investing in NitroPack to take care of your website’s speed optimization needs while you focus on growing your website and revenue sources. It comes with all the necessary and advanced features and takes less than 10 minutes to set up.
If you want to give NitroPack a try, you can sign up for the 14-day free trial and see the results for yourself.
Found this review useful? Tell us your thoughts on NitroPack in the comments section below!


Thanks for publishing this blog. Really an informative blog. All the content and information of this blog is unique.