WPLift is supported by its audience. When you purchase through links on our site, we may earn an affiliate commission.
5 Tips on How to Add Display Code on Your WordPress Website Easily
Being able to display code on your WordPress website is essential for any coding or tech blogger looking to create genuinely helpful content for their audience.
Yet, as you’ve probably already learned the hard way, this isn’t as straightforward as simply pasting the code into the post editor.
Do so, and things quickly go awry.
That’s why we’ve put together the following guide.
Below, you’ll learn 5 quick and easy ways to display code on your website correctly, along with two bonus tips to help you ensure that your code snippets provide maximum value to your readers.
Why Display Code on Your WordPress Website?
Whether you run a blog teaching people how to code or you’re a WordPress theme developer creating documentation on how to customize your theme, the main reason for showcasing code samples on your website is to provide valuable, helpful, and practical content for your audience.
This helps to boost your reputation in the eyes of both users and search engines, having an overall positive impact on your WordPress SEO in the form of increased search rankings, and more direct and organic traffic.
So, why not just copy the code and paste it into your blog post?
Simply put, because it doesn’t work.
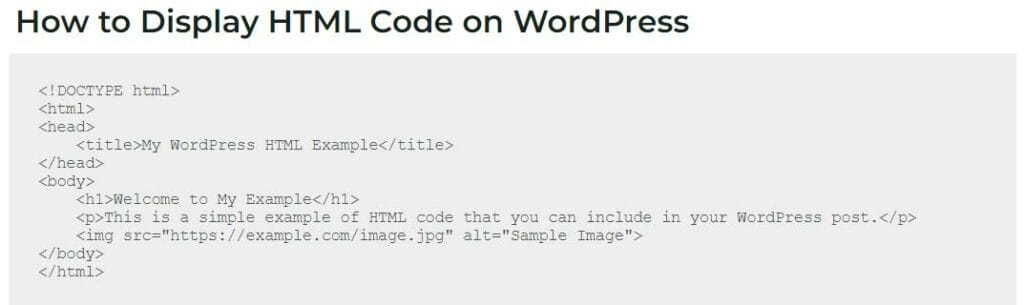
For example, let’s say you want to show your audience, ‘how to format blog posts using HTML tags’.

Article Continues Below
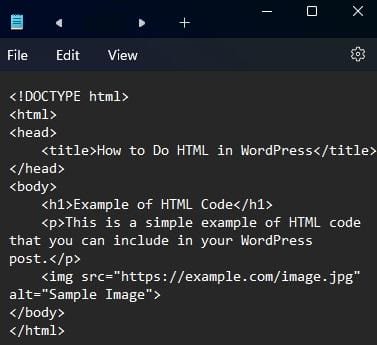
So, you write a few lines of code in a text editor, as in the illustration above, and then paste it into your post editor.
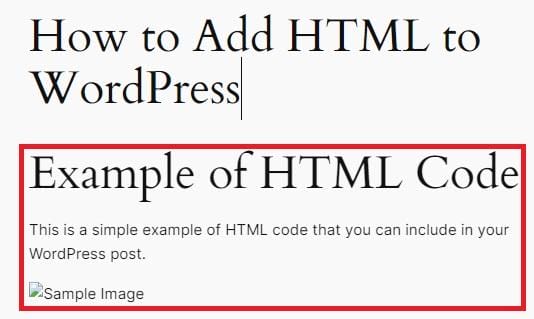
WordPress automatically thinks you’re trying to display the content elements within this HTML code snippet, and promptly implements that code.
It’s also not uncommon for WordPress to attempt to interpret and display this code only for it not to show up at all or otherwise show up partially, which, quite frankly, makes your content look a mess.
Fortunately, there are a few handy workarounds that we’ll explore next:
How to Display Code on Your WordPress Website: 5 Proven Methods
1. Use the Code Block
The easiest way to display code correctly is with the built-in “code” block in the WordPress Gutenberg block editor.
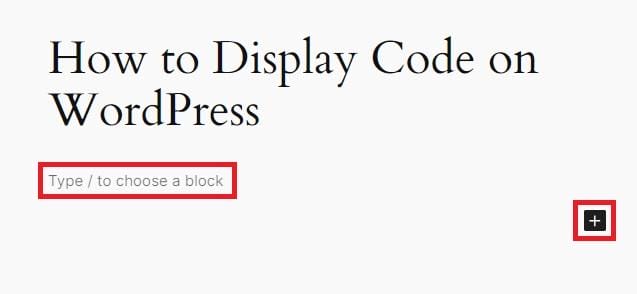
To begin, open up a new post or page, and either tap the + icon in the black square, or type a forward slash (/) to access the block selection menu.
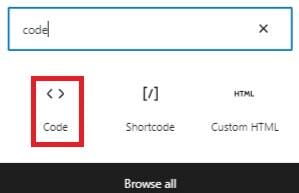
Next, search for, and select Code.
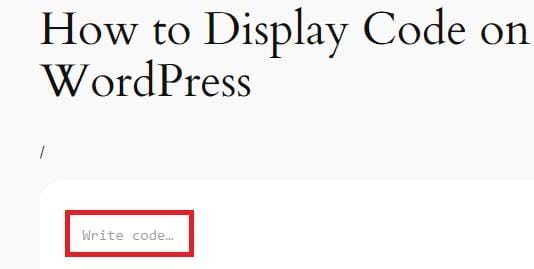
You’ll now see a new block labeled Write Code.
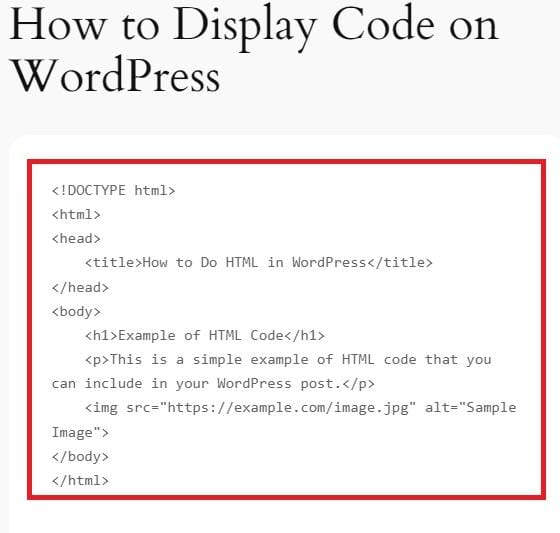
From there, all you have to do is paste your code into that block, as in the image above.
Article Continues Below

You’ll note that not only does the code snippet display correctly in the post editor, but also when you view the page on your live WordPress site.
How to Customize the Design of Gutenberg Code Blocks
It’s worth mentioning here that some WordPress themes display the code block differently.
The images above are from the same test site, which uses a theme that displays code in a different font from the rest of the text but keeps the background the same.
Here’s another example from a site running a different theme that displays code snippets with a gray background.
The good news is that since Code is a standard Gutenberg block the same as any other, it’s easy to customize.

In the post editor, click on your code block, and ensure the Block tab is open in the right-hand menu.
You can use this to change both the text and background colors of your block, as well as the text size. This not only makes the code stand out from the rest of your content, but also ensures it’s easier to read.
2. Use the HTML Tags in the Classic Editor.
Of course, you may be one of the many WordPress users who still prefer to work with the classic editor rather than Gutenberg.
If so, you can quickly display basic code by placing it between the <pre> and <code> HTML tags.
To ensure this works, you’ll first need to use an HTML entities encoder, which transforms your code into HTML entities.
Article Continues Below

These entities won’t be misinterpreted by WordPress as content to be displayed, ensuring your code looks just as intended when seen by visitors.
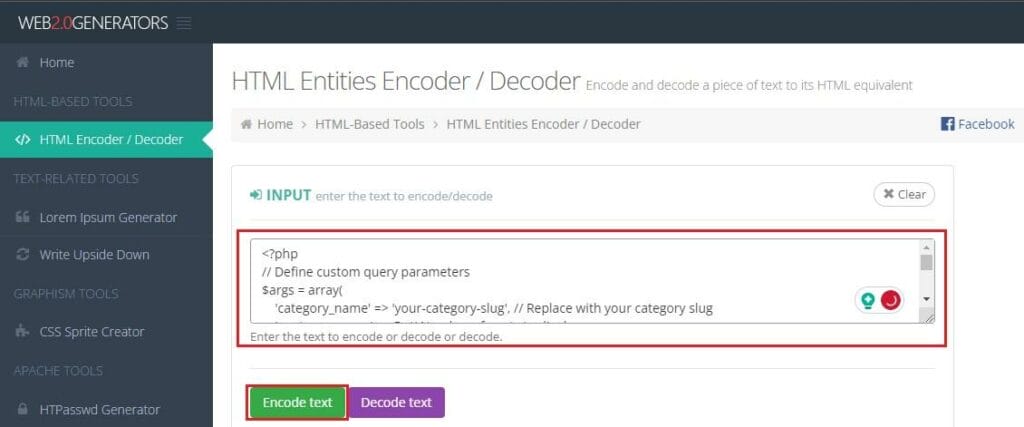
Plenty of HTML entities encoders are out there that you can use for free. They are given below:
However, in this example, we will use Web2.0Generators HTML Entities Encoder because it’s super fast, and easy to use.
Here, you only need to add your code into the Input box and tap Encode Text.
If you’re not familiar with HTML entities, the output produced may well look like a gaggle of nonsense, but it’s essential to ensure your code displays properly on your WordPress website.
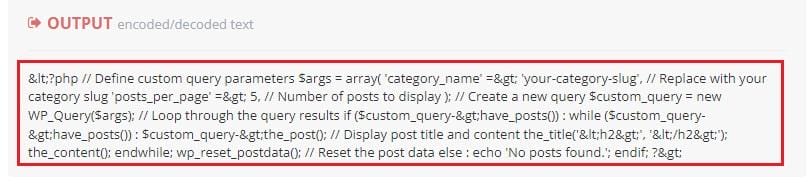
Copy this text, then open up the post or page to which you’re adding this code, and ensure that you have the text editor open.

Now, all you need to do to display your code snippet in WordPress is to copy the encoded text from the HTML encoder and paste it into the text editor with opening and closing <pre> and <code> tags, like this:
<pre><code>YOUR CODE</pre></code>
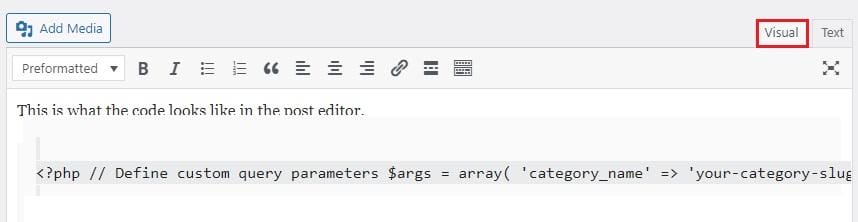
When you return to the visual editor, you’ll find your code highlighted to distinguish it from the rest of your content.
When you view the live version of your page, you’ll find the code displayed in its own snippet box with a scrollbar.
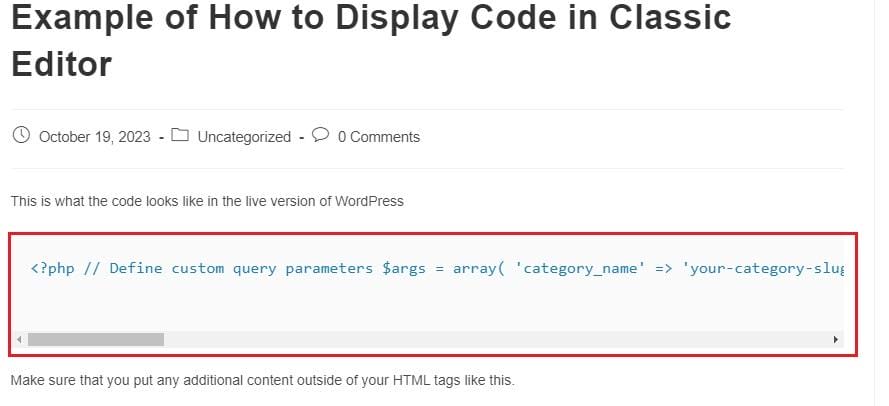
As you can probably tell, this is not the most convenient or attractive way to display code snippets on WordPress. However, it is a simple and effective method if you’re one of the 5 million people still using the classic editor.
3. Display Code Using Code Blocks Pro
Using the Gutenberg code block may be quick and straightforward, but even if you customize the background and text of your snippet, it’s still pretty basic.
There’s no way to use syntax highlighting or line numbers with these blocks, both of which are indispensable when it comes to making your code easy for users to read.
The easiest way to overcome that problem is to use a plugin.
A quick search of the WordPress plugins directly reveals hundreds of free options, and there’s also a plethora of top paid tools out there on third-party platforms, which offer additional features, and customization options.
Some options include:
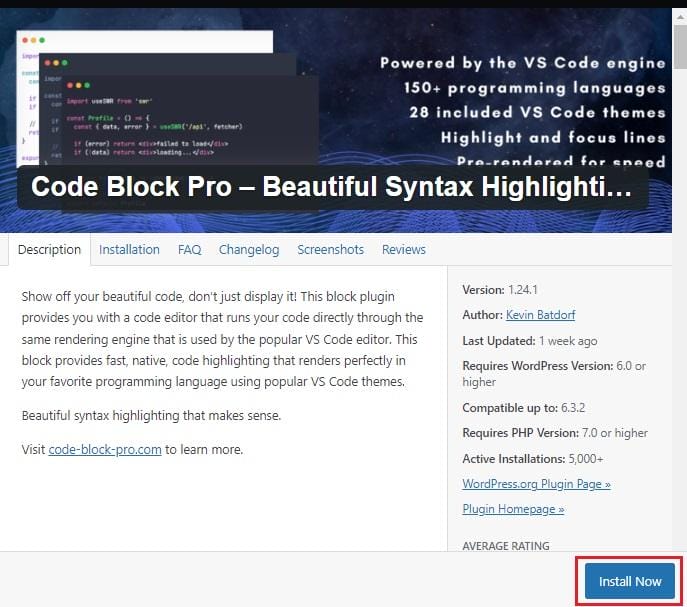
For now, we’re going to use Code Blocks Pro, which offers a fast, free way to display basic code snippets in a more attractive and user-friendly manner.
After installing and activating the plugin, open the page where you want to display the code, and access the block selection menu.
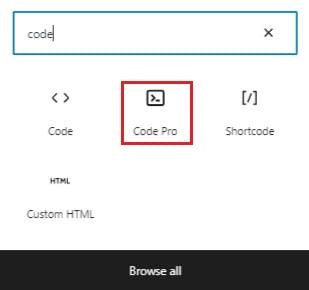
As before, search for Code. This time, you’ll see a new option: Code Pro is available.
Select that, and you’ll now find an attractive code editor ready for you to enter your code into.
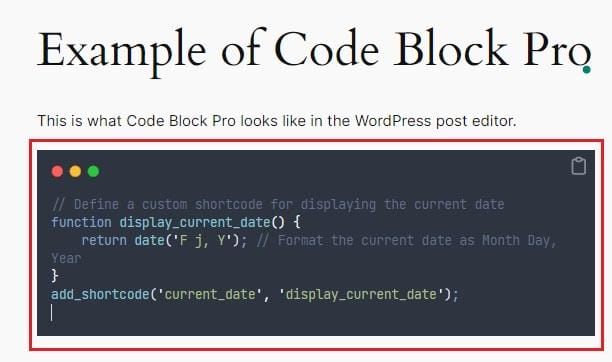
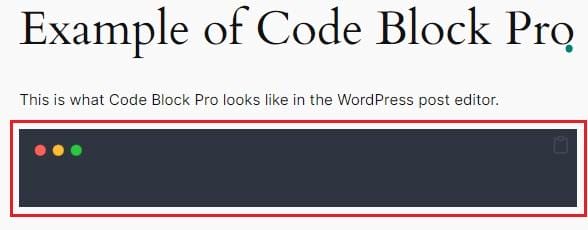
In this example, we’re showing WPLift readers how to create custom shortcodes by displaying the code for a shortcode that displays the current date.
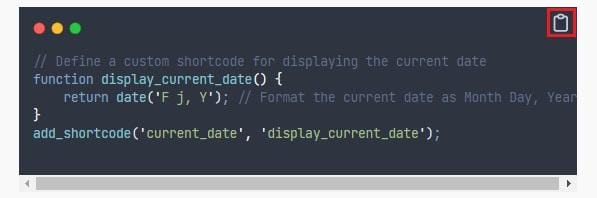
Once you’ve added your code, you’ll now see that it displays beautifully in your blog posts with a handy clipboard icon that improves usability by making it easier for visitors to copy your code for their own use.
4. Make Your Code Snippets More Valuable for Readers With Enlighter
Code Block Pro is a great step in the right direction, including syntax highlighting and a convenient copy-paste function. However, it still doesn’t provide line numbers, which can be incredibly useful for helping users navigate, and study long code snippets.
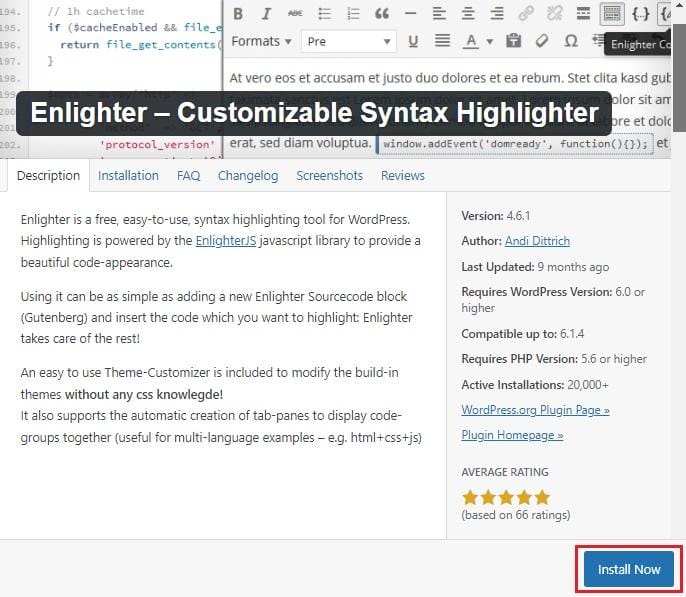
To achieve that result, it pays to use a different plugin: Enlighter.
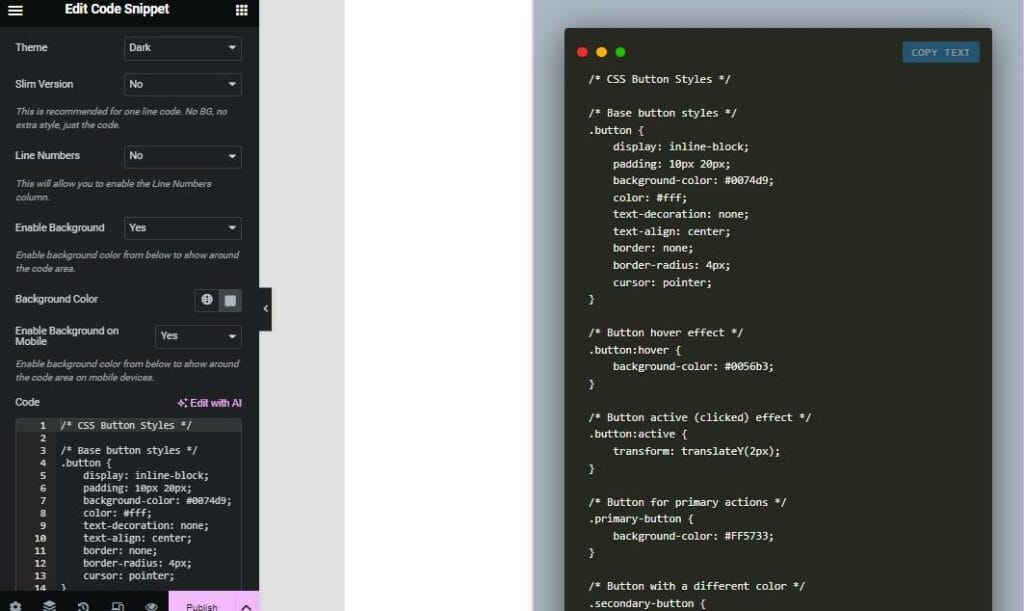
Install and activate the plugin in the usual way, then navigate to Enlighter – Appearance, where you can configure multiple display options, including:
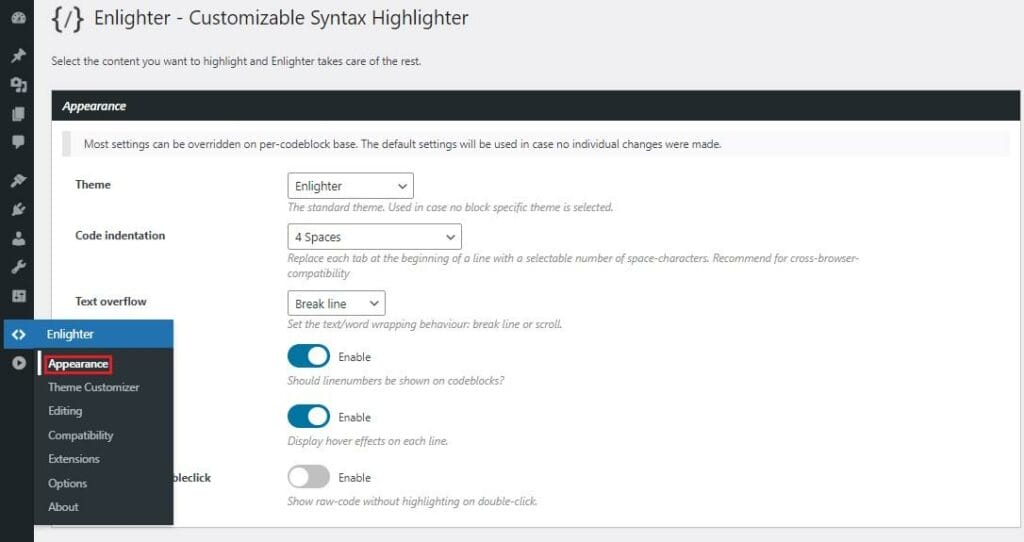
- Theme (more than 10 pre-set aesthetics for your code display blocks)
- Code indentation
- Text overflow options (line break or add scroll bar)
- Line-numbering (toggle on/off)
- Line-hovereffect (toggle on/off)
- RAW-Code on doubleclick (toggle on/off).
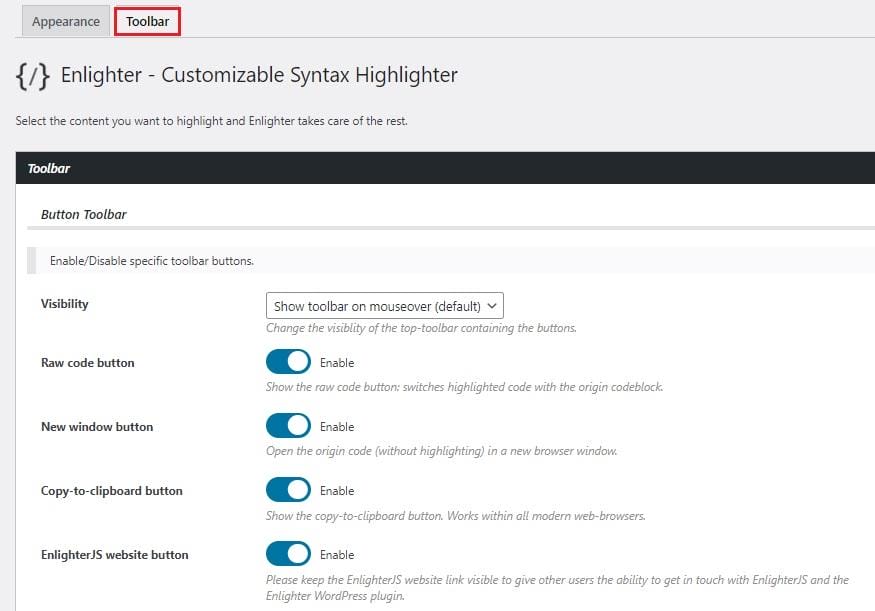
You can also switch to the toolbar tab to configure options for your code block’s toolbar, with options including:
- Visibility – Decide whether the toolbar should be always visible, never visible, or visible on mouse-over
- Toggle the following options on and off:
- RAW-Code button
- New window button
- Copy-to-clipboard button
- Display a link to Enlighter’s website.
Once you’ve configured your settings to your liking, simply click Save.

Now, you can go to your page or blog post, search for Englighter from the block selection menu, and choose Englighter Shortcode.
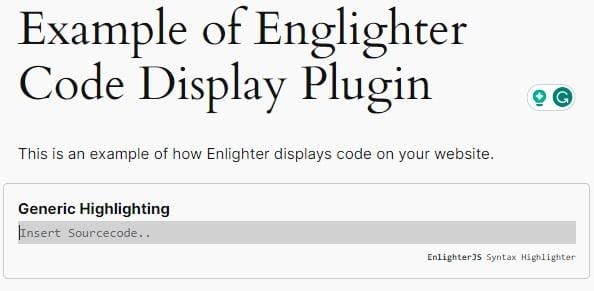
A new block will appear, which, by default, is set to Generic Highlighting. However, you can use the Language menu in the block editing options to change this to highlighting suitable to the specific coding language you’re using.
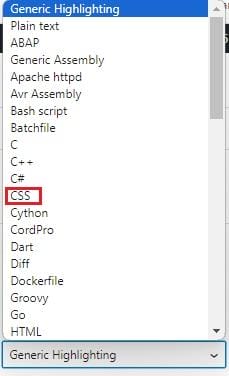
This includes those two WordPress staples, CSS and PHP.
For this example, we’re going to select CSS to demonstrate how to use custom CSS on WordPress.
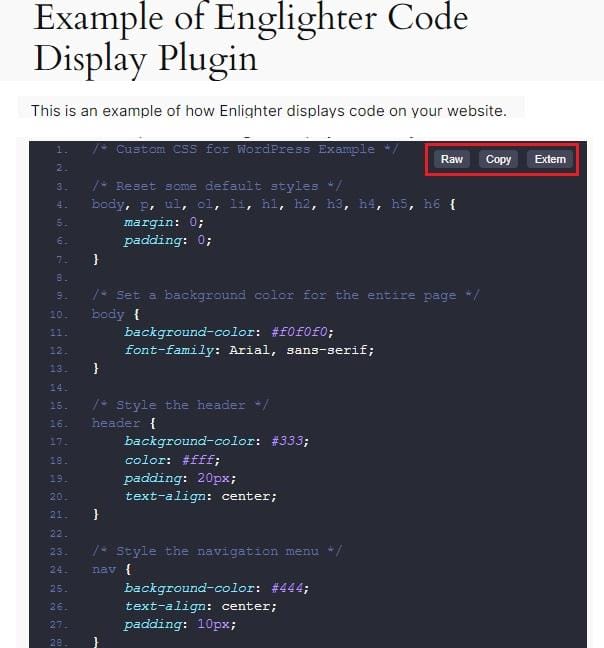
Our next step is to simply add the CSS code to the Englighter block.
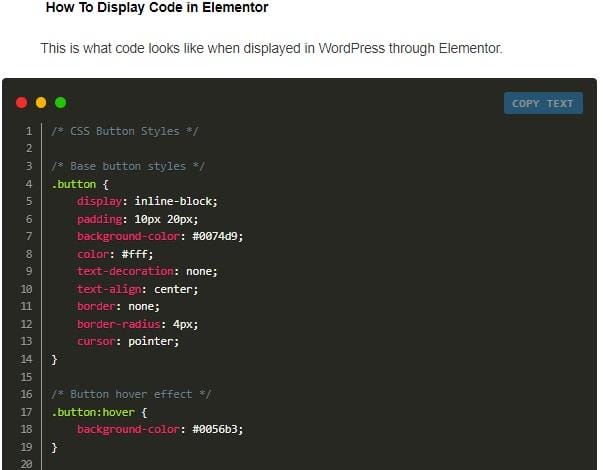
Although it looks pretty basic at first, once you preview or publish your page, you’ll find that your code not only looks great but provides lots of practical tools to help your users examine that code.
Not only does it provide correct syntax highlighting and line-numbers, but users can also:
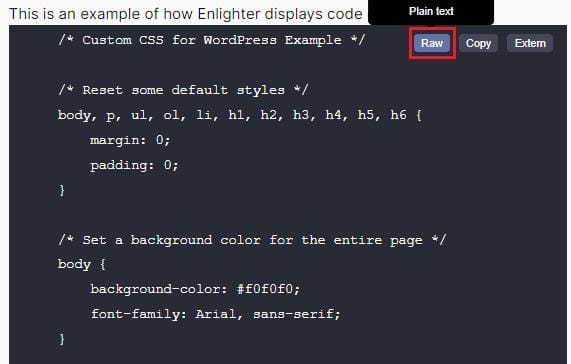
Click the Raw button to turn RAW-code off, and display it as plain text.
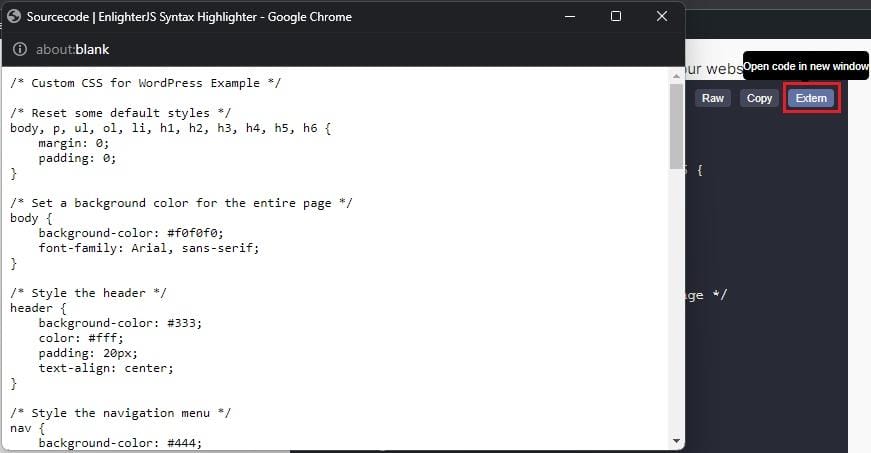
Click the Extern button to open a plain-text version of the code in a new window.
Click the Copy button to copy the code to the clipboard.
5. Add Code Snippets Via Your Page Builder
Finally, we’d be remiss if we didn’t mention the fact that most popular WordPress page builders feature their own code snippet display tools

Users of Elementor Pro, for example, have a “Code Highlight” element, while free users can combine Elementor with a free plugin such as Code Snippet DM, which provides the same function.
Whichever element block you use, all you have to do is drag it into place on the page, and enter your code.
You can then use the element options menu on the left to customize the look and functionality of your custom code display block.
As a point of advice, don’t worry if you choose to display line numbers, but they don’t appear in the Elementor editor window.
Once you finish your page and publish it, you’ll see that those line numbers are present and correct, along with beautifully highlighted code, and a handy copy-to-clipboard button.
Displaying Code Snippets on WordPress: Best Practices and Recommendations
1. Remember to Test and Validate Your Code
Even if you’re the most talented coder in the world, it’s not uncommon for a simple slip of the finger to produce the kind of typo that throws your entire code into disarray.
As you can imagine, not only does displaying faulty code provide little value to your readers, but it can also harm your reputation, causing readers to abandon your blog in search of a more accurate resource.
With that in mind, it always pays to use a code validator to scan and address any errors before sharing your code with readers.
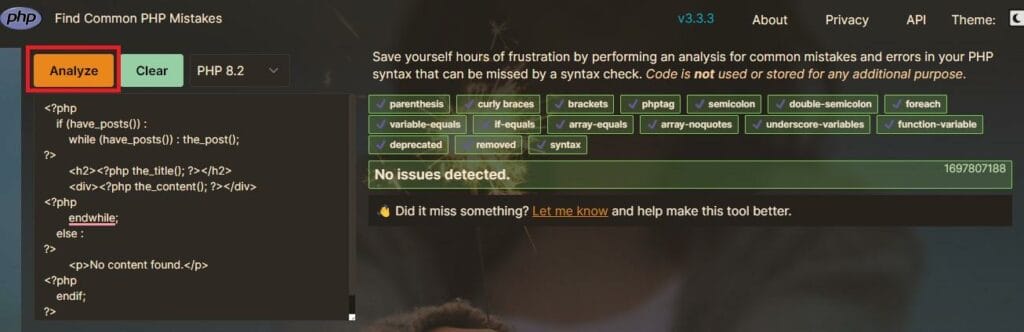
If you’re teaching your fellow WordPress users about PHP, for example, you can paste your code into the free PHP Code Checker tool, and click Analyze.
The tool then runs a comprehensive validation of your code, and highlights any errors.
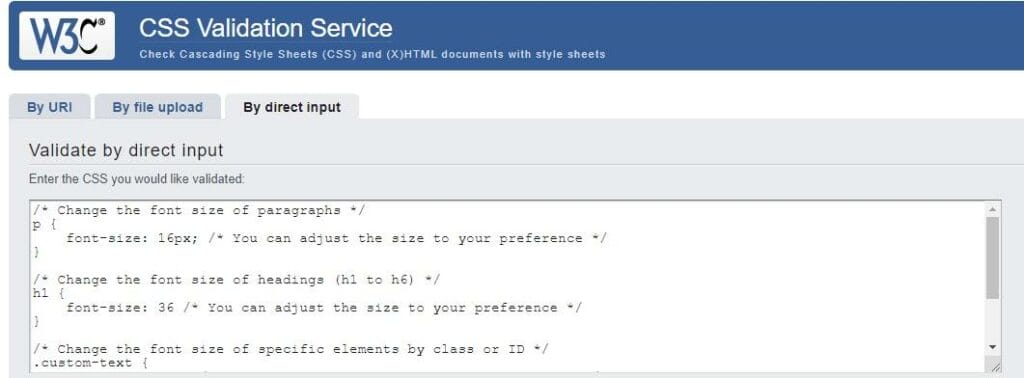
Elsewhere, the free W3C CSS Validation service does an excellent job checking both Check Cascading Style Sheets code, and (X)HTML documents with style sheets.
Other useful free code validators include:
- JShint – Javascript validation
- HTML Corrector – HTML validation
- JSFiddle – Javascript, HTML, and CSS validation
- ExtendsClass – Python validation.
2. Keep Private Information Private
Here at WPLift, we create scores of WordPress reviews and tutorials for tools and processes that require the use of API keys, database credentials, or other private information.
When we do, we’re always sure to scrub this data from any screenshots or code snippets we use, and not without good reason.
Although it’s easy to overlook, leaving a secret API key or other revealing data can lead to bad actors using that information to gain unauthorized access to your site, services, or any tools you use.
To learn more about why this is so important, check out our complete guide to the WordPress REST API.
3. Use Correct Formatting to Make Your Code Easier for Users
If the whole goal of using code snippets is to provide valuable learning tools or resources for your readers, it makes sense that you’ll want this code to be as easy to read and understand as possible.
To do that, be sure that every snippet adheres to the following code formatting best practices:
- Use indentation – Indentation is the practice of adding spaces to the beginning of lines of code to make the code more readable and easier to follow. You should use a consistent indentation style throughout your code.
- Use white space – White space is the empty space between lines of code, and between blocks of code. White space can be used to separate different blocks of code, and to make your code more readable.
- Use Syntax highlighting – Syntax highlighting works by identifying different types of code, such as keywords, operators, variables, and functions, and then assigning different colors to each type. This makes it easy to scan code for specific elements and understand its overall structure.
- Use line numbers – Line numbers can be helpful for debugging and readability.
What is the Best Way to Display Code on Your WordPress Website?
The default Code block within the WordPress editor is a great way to quickly add code snippets to your blog posts, but it lacks many of the essential features that would otherwise make these snippets a valuable resource for your users in the first place, such as syntax highlighting, line numbers, and convenient copy-to-clipboard options.
That’s why we consider the Enlighter plugin to be the absolute best way to display code on your WordPress website.
We tried out at least five different code display plugins to determine, which ones to include in this guide, and Enlighter consistently proved to be our favorite, not only because it has all the elements just mentioned, but because it’s effortless to use, making it a breeze to add dynamic, interactive snippets in moments.
Finally, if you’re the type of skilled WordPress user already showcasing your coding talent to the world, check out our 12 recommended developer tools for advanced WordPress users to help you streamline your development process.