WPLift is supported by its audience. When you purchase through links on our site, we may earn an affiliate commission.
How to Setup WooCommerce Conversion Tracking with Google Analytics Using Metorik?
Are you running a WooCommerce store and want to check how your store is performing in terms of conversions? You have reached the right place.
After setting up a WooCommerce store, your work is not over. You need to keep an eye on various things that fall under conversion tracking, like popular products, most viewed products, the total number of users making a purchase, how users reached the website, cart abandonment rate, etc. In short, you need to check WooCommerce analytics. But why?
It helps you understand the customers’ behavior and guide you to make informed business decisions.
To set up WooCommerce conversion tracking, you need to integrate your site with Google Analytics. And the best way to achieve this is by using Metorik, a popular WooCommerce conversion tracking tool.
Metorik is your Co-Pilot when it comes to Google conversion tracking. The tool provides you with real-time reports of revenues, orders, refunds, customers, etc. And the best thing is that it lets you filter the data as per customer group, category, etc.
Another excellent thing about Metorik is that it enables you to manage different stores with the help of a multi-dashboard feature.
In this blog, we will explain how to connect Metorik with Google Analytics of your WooCommerce store. But before that, you need to connect Metorik with the WooCommerce store.
So, let’s get started.
How Do You Connect Your WooCommerce Store with Metorik?
Here is the step-by-step process to connect your WooCommerce store with Metorik.
1. Create an Account on Metorik
First and foremost, you need to visit the Metorik website and sign up for the tool. The powerful tool provides a 30-day free trial for any new member.
2. Add Your Store to Metorik
After you have signed up on Metorik, it’s time to connect your WooCommerce store. For the same, you need to mention your company name and store.
Here, you can have the flexibility to add multiple stores under one company, and Metorik charges accordingly.
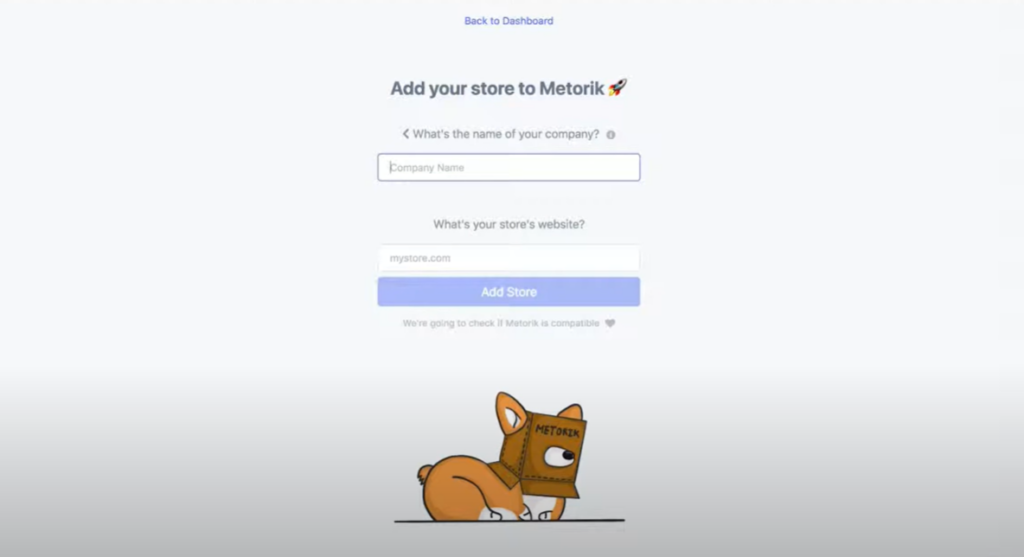
So, quickly enter the company’s name and URL and add your store.
Metorik checks whether your store has a recent version of WooCommerce or not and whether it is accessible by tool or not. Then, it provides you an option to connect your store.
As soon as you click on connect, you will view a screen as follows. Click on Approve to allow Metorik to access your store data.
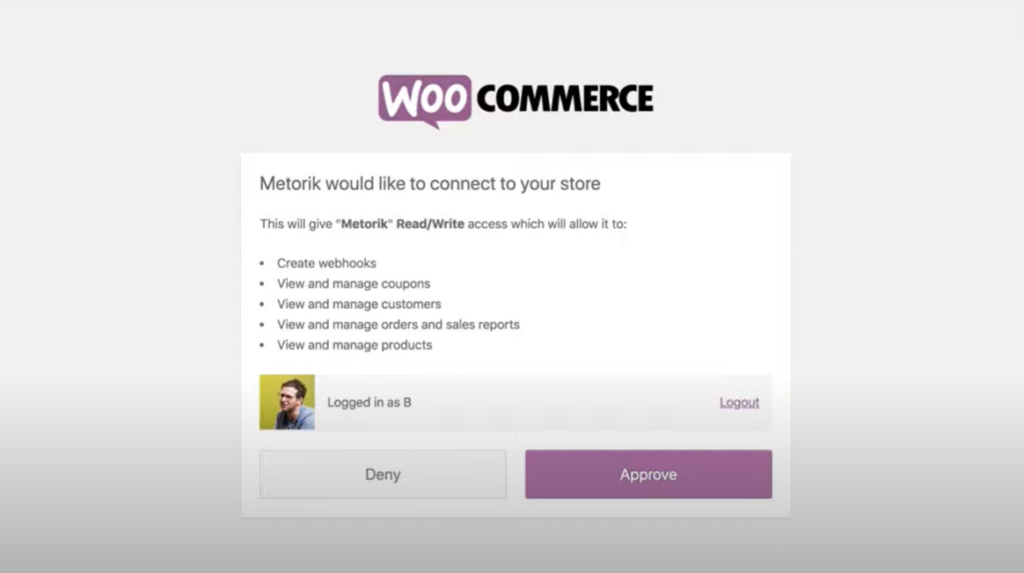
The conversion tool runs additional tests to ensure your store is appropriately connected.
3. Install Metorik Plugin
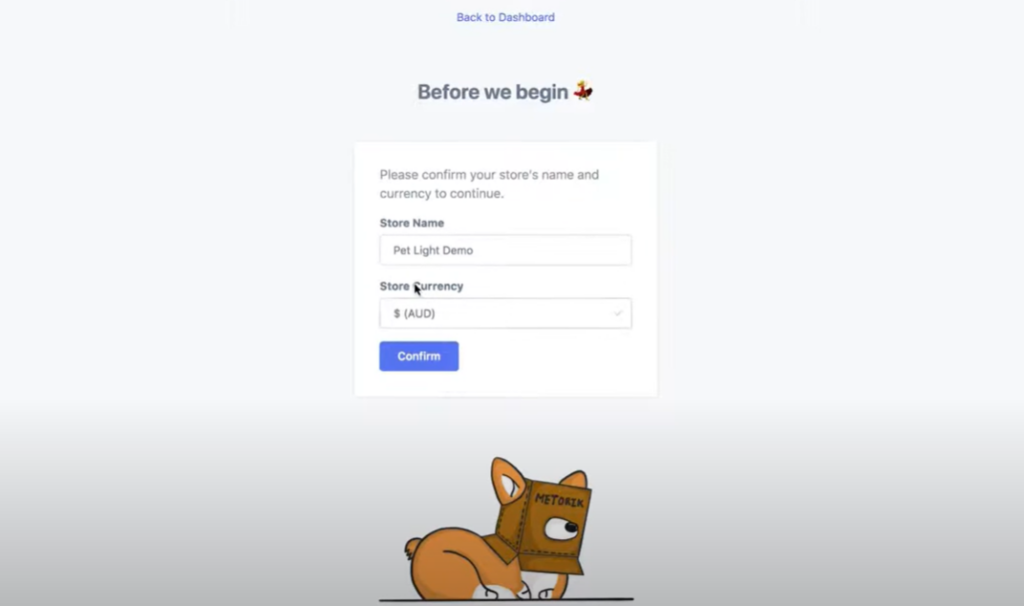
Firstly, the tool detects the store name and the currency. Check these things properly, make corrections if required, and click on confirm.
Metorik generally connects with your site with the help of WooCommerce API. However, the tool asks you to install one small plugin known as Metorik Helper to get some additional features.
So, install the plugin right away. After this, Metorik starts processing all the data.
4. Setup Your Team
After installing the plugin, Metorik allows you to invite various team members to access the tool.
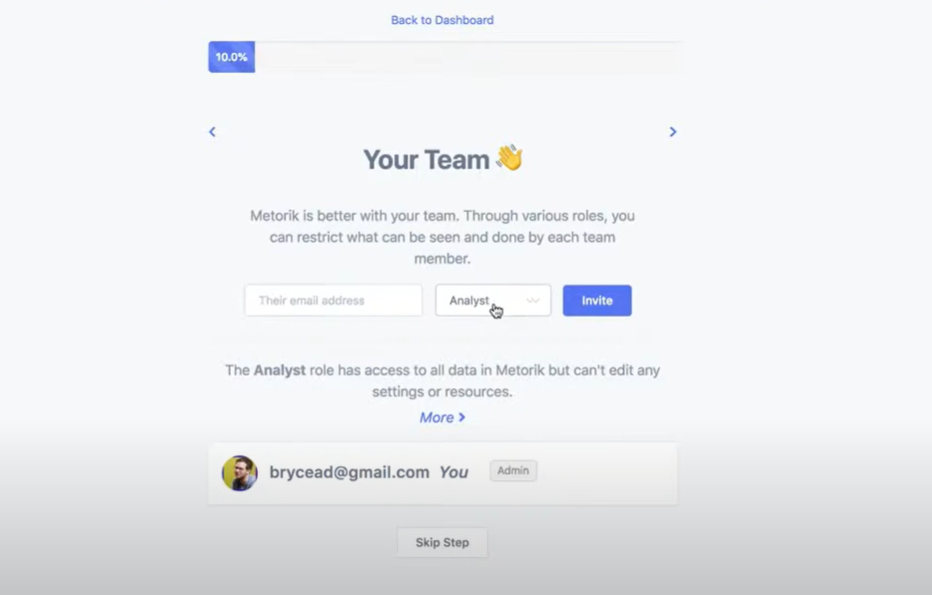
You have to enter the email address, select what kind of data they can access from Metorik, and click on Invite.
5. Create a Digest
Digest is the automatic emails and optional Slack messages that provide a summary of how your store is performing whenever you need it.
The tool allows you to set the frequency when you need the digest. You can mention the email, set the frequency, and name the digest.
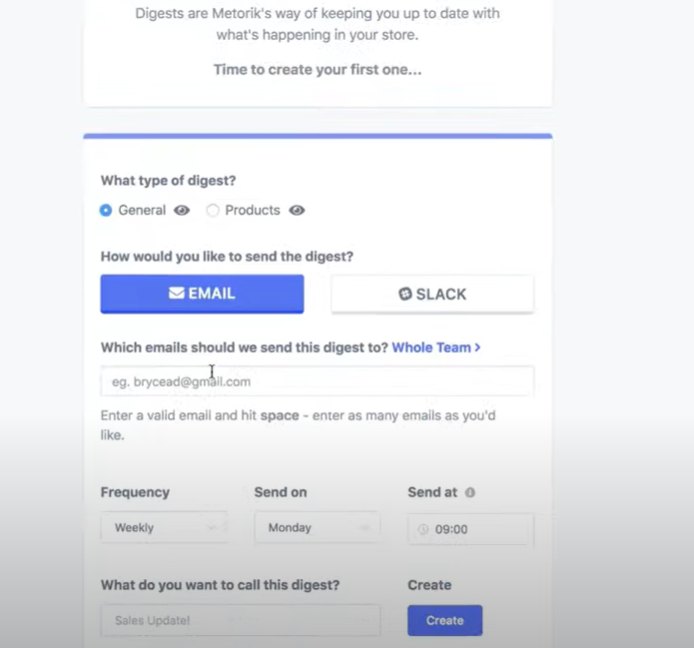
Here, you have the option to get a general digest, which provides information about everything. Besides this, you can create a digest for subscriptions, products, etc.
6. Third-Party Integrations
Now, you get an option to connect various third-party integrations with Metorik. These include Slack, Google Analytics, Zendesk, Help Scout, Freshdesk, and more.
Lastly, you will view a settings screen; here, you need to configure how Metorik accesses your data.
After connecting WooCommerce with Metorik, we will walk you through configuring your Store’s Google Analytics with Metorik.
Process to Setup WooCommerce Conversion Tracking with Google Analytics Using Metorik
Here is the streamlined process for setting up WooCommerce Conversion Tracking with Google Analytics using Metorik.
1. Connect Google Analytics with Metorik
After you have connected your WooCommerce store with Metorik, it’s time to log in.
Reach out to the settings section from the Metorik dashboard. After this, check the tool and search for Google Analytics or the Integration tab.
You have to click on “Connect” to configure Google Analytics. The tool will ask you to enter the Google Analytics Tracking ID.
2. Allow Enhanced ECommerce Tracking in Google Analytics
Login to your Google Analytics account and go to the admin section.
Now, in the admin section, you need to go to the property section. Here, you need to enable the eCommerce enhanced reporting.
3. Configure Metorik Conversion Tracking
To enable the conversion tracking in your Google Analytics account, you need to go to the settings section.
In the settings section, you need to look out for the conversion or the conversion tracking tab and enable it immediately.
4. Enter Your Conversion Goals with Google Analytics
After enabling various options in your Google Analytics account, you need to set some goals to see how your store is performing.
Follow the simple steps given below.
- Open the conversions page in Google Analytics.
- Select New Goal and Choose Custom as your Goal type.
- Choose the Goal Name; it could be anything descriptive.
- Choose the Goal URL; it could be a thank you or email subscription page.
5. Test and Verify Conversion Tracking
After setting up a Goal in the Google Analytics account, it’s essential to test it to ensure the conversions are getting appropriately tracked.
Go to the page that you have selected for conversion tracking, and place a test order.
After placing the order, wait for a few minutes and check whether the data gets displayed in Google Analytics as well as the Metorik account.
Ensure that the product information and all the order details are tracked as per the criteria you set for Google Analytics tracking.
6. Monitor and Analyze
Lastly, after setting up the WooCommerce store with Google Analytics, you need to continuously monitor the performance.
By getting essential Google Analytics reports of your store from Metorik, you can make significant decisions regarding the products, customers, and overall marketing strategy.
Wrapping Up
We hope our detailed guide has helped you set up your WooCommerce conversion tracking tool with Google Analytics using Metorik. Right from configuring Google Analytics with the WooCommerce store to integrating Metorik, we have covered everything to help you adopt the tool easily.
When WooCommerce analytics is set up well, you can track all the essential things related to your store & customers, make effective business decisions, and improve the sales & profit of your WooCommerce store.
Ultimately, we encourage you to keep an eye on the latest trends in WooCommerce and Google Analytics for your website, adapt them to make your store customer-centric and grow your business effortlessly.