WPLift is supported by its audience. When you purchase through links on our site, we may earn an affiliate commission.
How to Change WordPress Theme: A Quick and Easy Guide
If you’re new to the world’s most popular CMS, and haven’t yet figured out how to change a WordPress theme, we’ve got some good news for you:
The whole process is incredibly easy.
In this guide, we’ll outline 3 quick and easy steps you can follow to switch to a different theme in under 5 minutes.
We’ll also explain the simple tasks you should complete before and after changing themes to ensure everything goes as smoothly as possible.
What to Do Before Changing The WordPress Theme
1. Log Your Customizations
Your first pre-change task should be to note down any custom CSS, shortcodes, or scripts you’ve used to add functionality to your site.
Since such customizations may not survive the theme switch, having a complete list of each will allow you to add them to your new theme later.
2. Backup Your Content
As a rule, changing WordPress themes should not result in any of your existing content being deleted.
That said, there’s always the chance that something could go wrong.
With that in mind, back up your posts, pages, databases, and media files before switching themes.
See our ultimate guide to backing up WordPress if you need a helping hand with this one.
3. Test Your Site Speed
Checking the page load speed of your website before making any changes makes it easier to tell what impact those changes will have on your overall site performance.

Run your site through a tool such as Pingdom Website Speed Test before and after switching to confirm that your new theme isn’t going to slow things down.
How to Change WordPress Themes in 3 Easy Steps
1. Log in to WordPress
To switch WordPress themes, you’ll first need to access your admin dashboard.
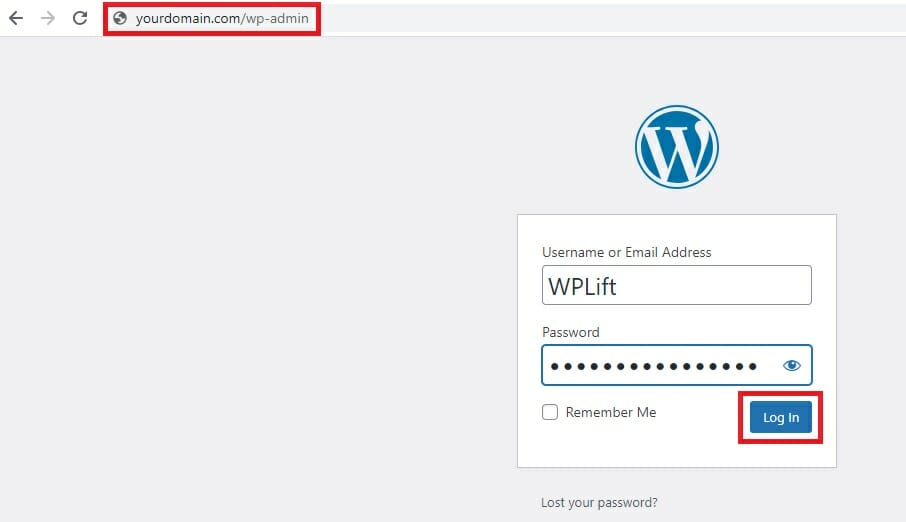
To do this, point your browser to Yourdomain.com/wp-admin, replacing “yourdomain.com” with the URL of your website.
Enter your username and password, then tap Log in.
2. Access the WordPress Themes Dashboard
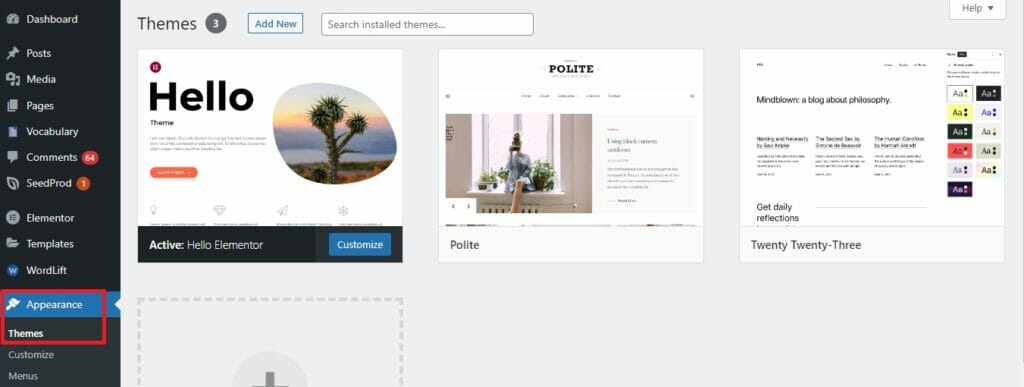
Next, you’ll need to navigate to the theme management section of your admin settings by selecting Appearance – Themes.
Here, you’ll see your currently active theme and any additional themes you have installed.
3. Add a New WordPress Theme
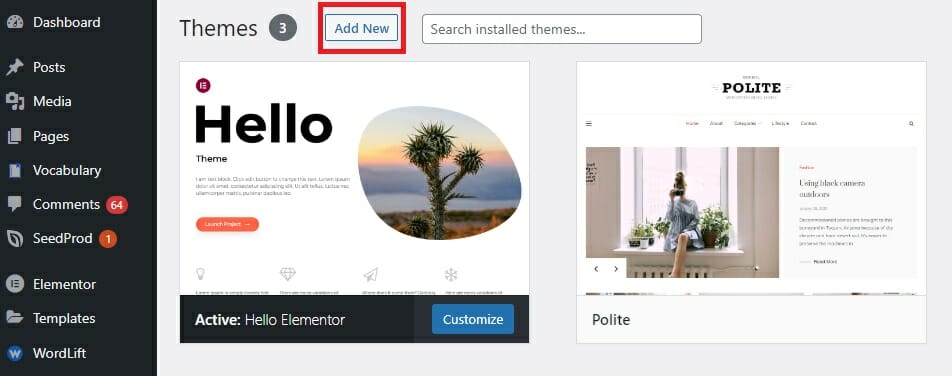
At the top of the main Themes page, you’ll see a button labeled Add New.
Tap that to access the Add Themes page.
You now have two options:
A. Upload a Theme From Your Device
If you purchased a premium WordPress theme from a third-party marketplace such as ThemeForest, first follow their instructions to download the theme to your hard drive.
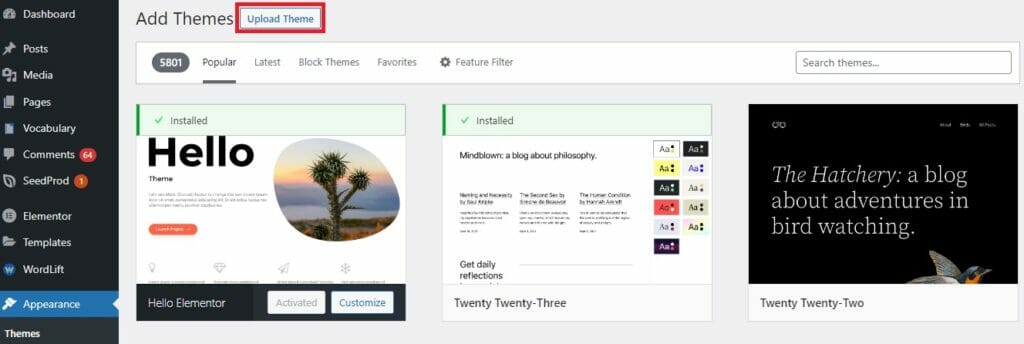
Next, on your WordPress Add Themes page, click Upload Theme.
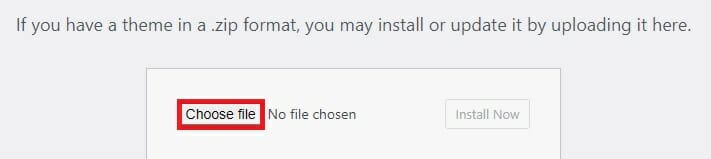
From there, select Choose File.
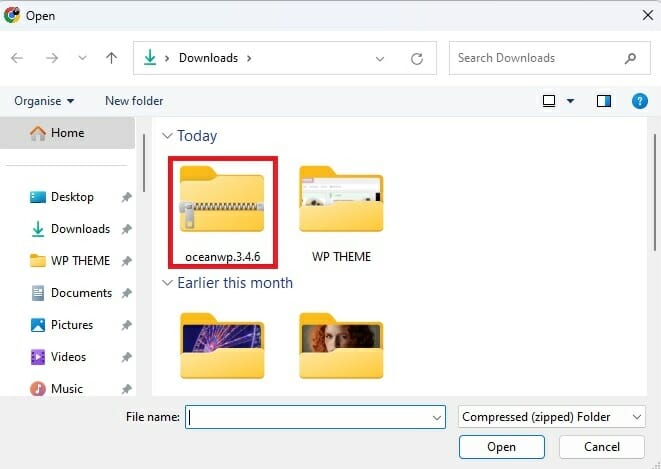
This will open a File Dialog box. Use this to navigate to the location on your hard drive where you saved your file.
You’ll find it saved as a .Zip file.
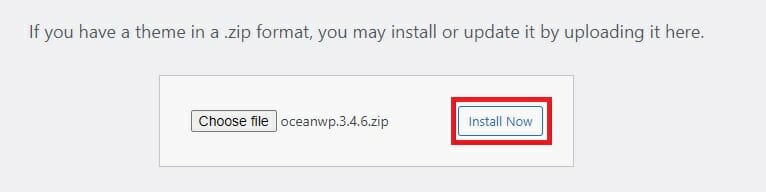
Select that file, and then click Install Now.
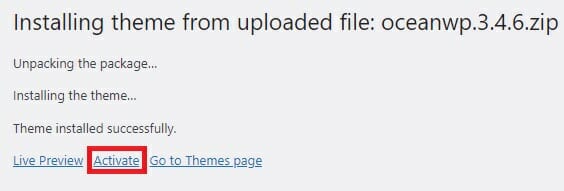
WordPress will then confirm that the installation was successful, and all you have to do is tap the Activate button to complete the process.
B. Choose a Theme from the WordPress Directory
If you don’t already have a pre-download theme to install, you can always change WordPress themes to one of the thousands readily available in the WordPress theme directory.
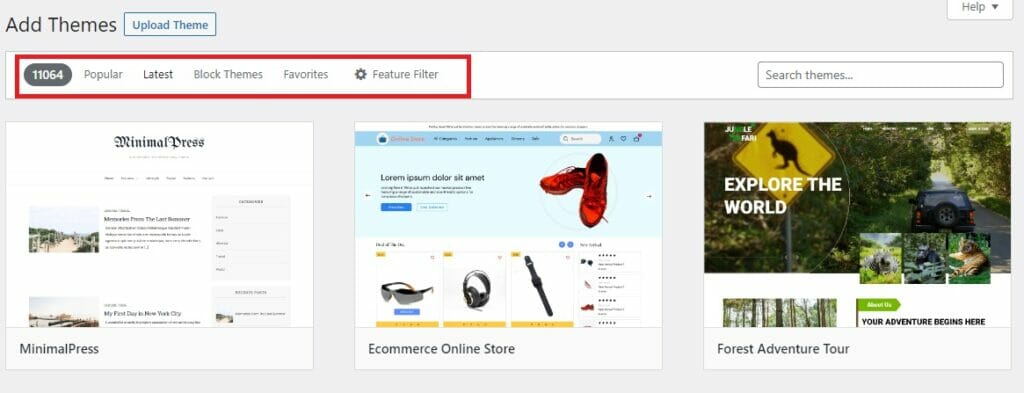
To begin, navigate to Appearance – Themes – Add New.
This time, you can use the tabs at the top to browse popular and recently-uploaded themes.
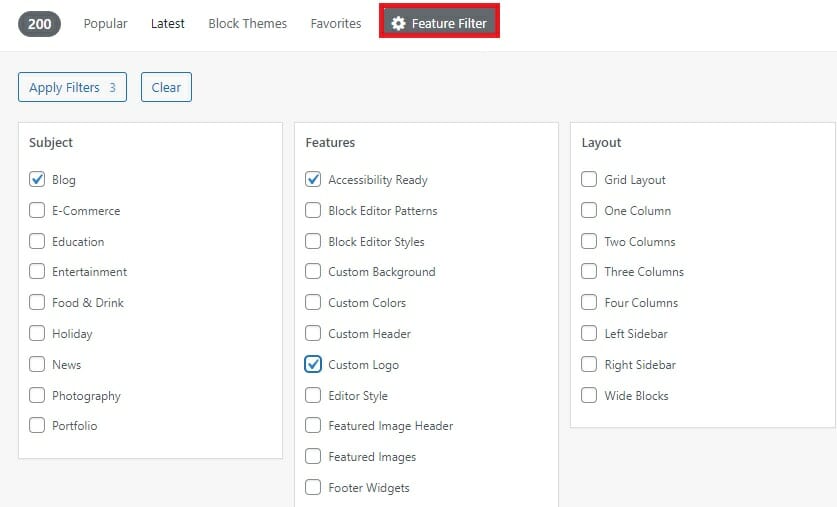
You can also hit the Feature Filter button to narrow your choices to themes based on a particular subject or that contain certain features and layouts.
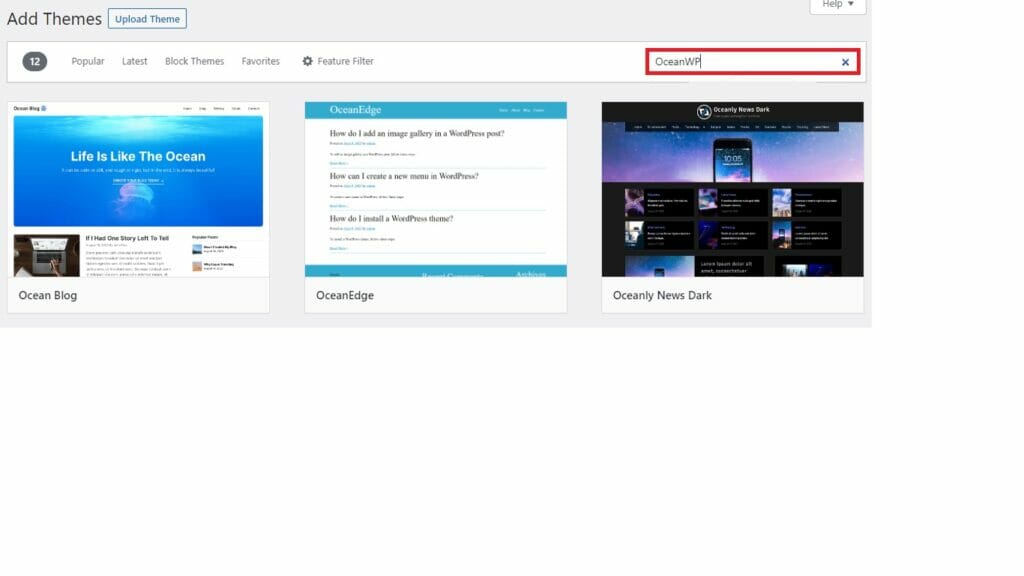
Alternatively, if you already know the name of the theme you want to use, you can find it by typing it into the search bar.
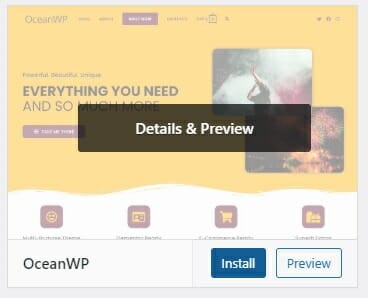
Once you’ve found your ideal theme, simply hover over it and tap Install.
From there, select Activate, and that’s it. You’ve successfully changed WordPress themes.
What To Do After Changing Your WordPress Theme
1. Import Demo Content and Plugins
If you’ve just installed WordPress, and you’re reading this guide to learn how to change WordPress themes for the first time, you may benefit from installing the demo content.
This ensures that your site will look exactly as it did in the theme preview, giving you a starting point and helping you understand how the theme works.
Additionally, if your new theme recommends specific plugins for enhanced functionality or compatibility, make sure to install and activate them, as they may be crucial to achieving the full potential of your new theme.
2. Clean Up the Design
Next, take the opportunity to declutter your design by removing any unnecessary elements, such as widgets and social media icons, that you have no use for.
From there, scan through your pages and blog posts to see how they look on your new theme.
There may be particular style and design elements that you’re not happy with, so be sure to address those before moving on.
3. Delete Unnecessary Files
Even if you decide not to import demo content into your WordPress installation, you may still find that your new theme has added its own posts, pages, and media files.
This can cause problems for 2 reasons:
A. The more content you have on your site, the more your site speed will be affected. So, if there are pages that are sitting on your server without serving a purpose, you may be slowing your site down without even realizing it.
B. Most themes automatically install common page types like About and Contact. This may be fine if your site is new, but if you’re simply replacing the theme, there’s a good chance you already have these pages active.
Keeping your current ‘About’ page live alongside a demo ‘About’ page installed by your theme could confuse search crawlers, resulting in the wrong page being indexed.
With that said, be sure to scan your pages, posts, and media library looking for any unwanted files installed with your theme. Delete them, and be sure to empty the Trash folder when you’re done.
4. Test Your Website
Along with testing for design issues, you should also be looking to verify that essential features such as galleries, contact forms, and other elements are all functioning as expected.
At this stage, you can also run another site speed test to confirm that your new theme isn’t negatively affecting site performance.
How to Change a WordPress Theme: Summary
So, there you have it, changing a WordPress theme really is as easy as completing three simple steps:
1. Login to WordPress
2. Access the theme page
3. Either upload a theme or choose one from the WordPress directory.
Of course, as simple as it may be, there are opportunities for things to go awry.
Whether it’s losing custom features or analytics codes, or accidentally wiping your content in the first place, it always pays to prepare for the worst-case scenario.
That’s why, we also recommend backing up your content and custom codes before making the switch.
Once everything goes according to plan, you also benefit from auditing your site to ensure that there are no functionality errors or design flaws that you need to correct before inviting the world to check out your beautiful new site.
Finally, if you’re ready to change themes, but you haven’t yet decided which one to use, you’ll find all the inspiration you need in these 18 amazing one-page WordPress themes.
Frequently Asked Questions
Can I Change WordPress Themes without losing Content?
Yes. When you switch WordPress themes, all of your content should remain in place. Just to be on the safe side, we recommend backing up your content before you add a new theme.
Can you change your WordPress theme later?
Yes. You can change WordPress themes as many times as you like at any time. Just be sure to back up your content first, and don’t delete your previous theme until you’re sure the new one works correctly.
How do I change my WordPress theme without going live?
The easiest way to change your WordPress theme without going live is to put your site in Maintenance Mode, which prevents visitors from accessing your core site while you work on changes.
Alternatively, you could learn how to create a WordPress staging site and test your new theme there before migrating it across to the live version of your website.

You can use a plugin like SeedProd to activate maintenance mode, and create a custom Maintenance Mode Page to keep visitors informed.


Hi, WPlift,
Recently, I made a switch from a popular WordPress theme (don’t want to mention the name) to Kadence and instantly experience better CLS scores in page speed insights.
If I had not kept track of the theme performance before the switch, it will be impossible to measure the impact on site performance.
So, I can attest to point #3 on this list as important and one that should not be ignored.
Thanks for sharing these tips on best practices to take when changing themes.