WPLift is supported by its audience. When you purchase through links on our site, we may earn an affiliate commission.
How to Create a WordPress Wedding Website (Step-by-Step Tutorial)
So you want to make a wedding website on WordPress? Well – first off – I think some congratulations are in order! At least if you’re the one getting married.
And it’s totally possible that you’re the one getting married, because anyone can build a WordPress wedding website – you don’t need any special technical skills.
In this article, I’ll take you step-by-step through how to use WordPress for a wedding website, starting at the beginning with picking the right hosting and moving on through installing WordPress, choosing a WordPress wedding theme, and installing the right plugins so that your visitors can RSVP and, once you get married, you can display your wedding pictures (if that’s what you want).
You’ve probably got a lot on your plate planning for the big day, so let’s jump straight into the tutorial!
What You Need to Make a Wedding Website on WordPress
If you’re not familiar with WordPress, here’s a quick primer on what you need for your wedding website and what you should expect to pay.
First, there’s web hosting. This is the engine that will power your WordPress wedding website and make it accessible to visitors from around the world. Once you purchase hosting, you’ll install the free open-source WordPress software on it.
You’ll also need a domain name to go along with your web hosting. Typically, you’ll want to make it “your last names + wedding”.com. For example, newcomersmithwedding.com.
That handles the under-the-hood parts of your website. Then, you’ll need some tools to control how your WordPress wedding website looks to visitors.
First, your WordPress theme controls the design of your site. You can find lots of dedicated WordPress wedding themes.
Then, you can use WordPress plugins to add new functionality to your site. For example:

Article Continues Below
- Event details
- RSVP management
- A gallery of pictures
- A map/directions
So how much should you expect to pay for all of that?
- Web hosting – you’ll pay ~$47 for an entire year.
- Domain name – you’ll pay $10-15 for an entire year.
- WordPress software – 100% free and open-source.
- Wedding theme – ranges from $0 (free wedding themes) to ~$60 (the price of most premium wedding themes).
- Wedding plugins – ranges from $0 (all free plugins) to $50-150, depending on any premium plugins you might want
So at the very low end, you could build a totally functional wedding website for around $60 for an entire year. And even if you want to spring for some premium extensions, you can still keep things in the $100-200 range.
Here’s how to set everything up…
How to Create a WordPress Wedding Website
- Purchase hosting and a domain name
- Install WordPress
- Pick a WordPress wedding theme
- Add your core website content
- Install some WordPress wedding plugins
- Get married
1. Purchase Hosting and a Domain Name
To get started, you’ll need to purchase the web hosting and domain name for your wedding website.
Thankfully, you can get both from the same place.
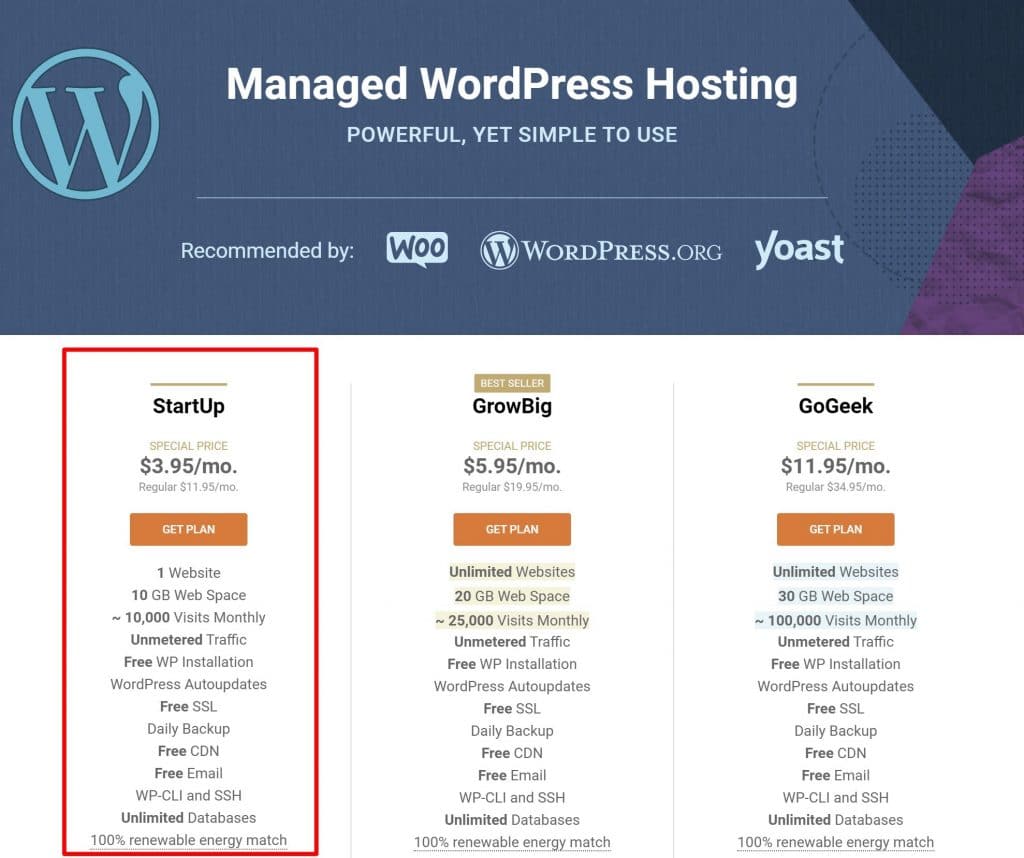
For hosting a simple website on the cheap, we recommend SiteGround because:
- It’s affordable.
- You get a custom hosting dashboard that makes it easy to install WordPress.
- The performance is good for the price.
- You get access to helpful support if you run into any issues.
You can learn more about why we like SiteGround in our full SiteGround review.
For a wedding website, you should be fine with SiteGround’s cheapest StartUp package, which costs just $3.95 per month (billed annually, at a minimum).
To get started, select the StartUp plan.
Article Continues Below

On the next page, you’ll be able to choose your domain name, which costs $15.95 per year (you could save ~$5 if you purchase your domain name separately from NameCheap, but it adds some complexity to the setup process):
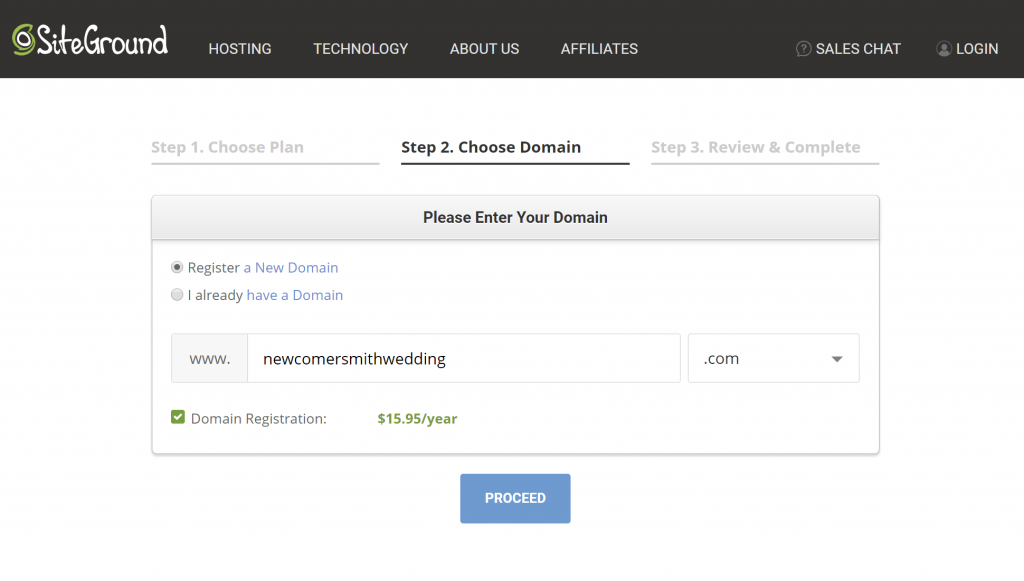
To finish things out, you’ll need to enter your account and billing information.
2. Install WordPress
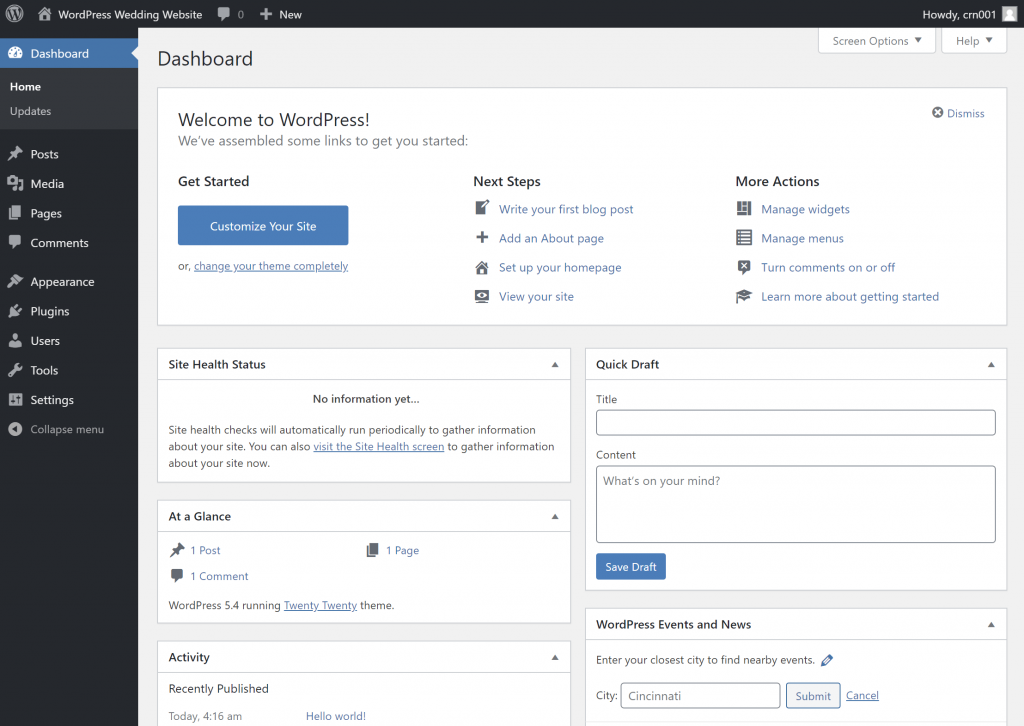
Once you sign up for SiteGround, SiteGround will give you a simple welcome wizard to help you install the WordPress software.
Once you install it, you can log in to your WordPress dashboard, which should look something like this:
3. Pick a WordPress Wedding Theme
Your WordPress site’s theme controls how your wedding website will look. It’s kind of like your site’s clothing.
To instantly set your site up with a “wedding” look, you can use a dedicated WordPress wedding theme.
We’ve collected over 30+ WordPress wedding themes that you can browse, but here are some of our favorites…
Article Continues Below

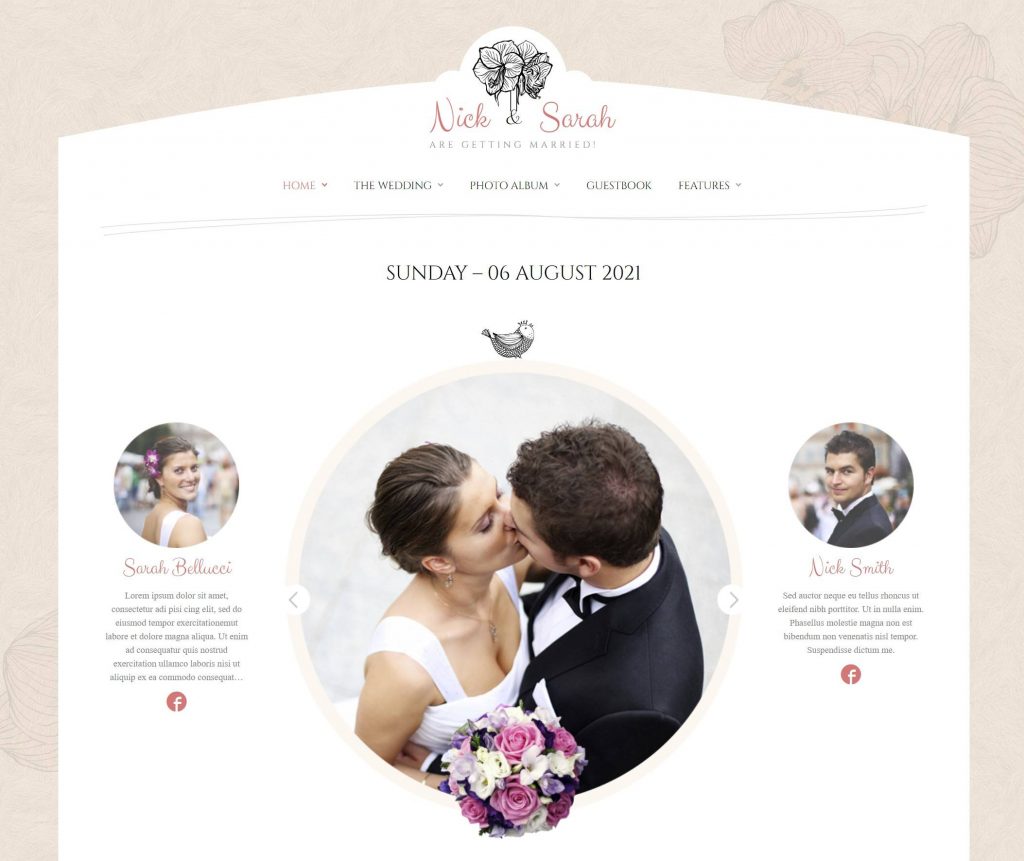
OneLove – $59

Key features:
- 22+ different importable demos to choose from
- Photo galleries
- Display event details
- Display wedding venue(s) on map
- RSVP form
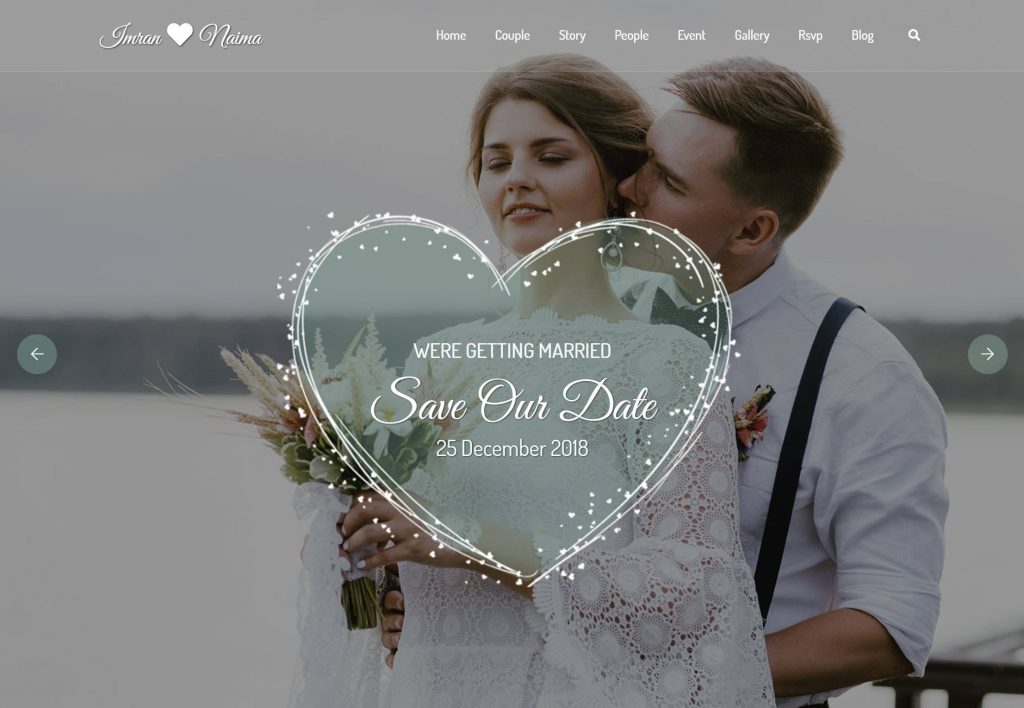
Wedding Day – $79
Key features:
- Wedding invitations
- RSVP
- Guestbook
- Photo gallery
- Display wedding venue(s) on map
Lavelo – $37
Key features:
- RSVP form
- Display bridesmaids and groomsmen
- Display event information
- Countdown to wedding day
Once you’ve chosen a WordPress wedding theme, you can follow our tutorial to install your theme.
4. Add Your Core Content
Once you’ve added your theme, you’ll want to set up your core content.
This might include separate pages for details like:
- RSVP
- Event venue/directions
- Wedding parties (bridesmaids/groomsmen)
- Your story
- Gift registry
- Guestbook
- Etc.
In the next section, we’ll talk about some tools that you can use to add the necessary functionality to these pages, such as a form for your RSVP page.
To add a new page of content, you can go to Pages → Add New. Then, you can add your content using the WordPress block editor.
5. Install Some WordPress Wedding Plugins (As Needed)
Once you’ve added your content, you should have a better idea of the spots where you might need additional functionality.
For example, if you want to let people RSVP, you’ll probably need some type of form where they can do that. To make that happen, you’ll need a WordPress form plugin.
Here are some of the most useful plugins for WordPress wedding websites:
- WPForms – this plugin makes it easy to create an RSVP form. Learn more in our WPForms review.
- OR RSVP and Event Management Plugin – this plugin can help you both create an RSVP form and manage attendance, which makes it a good alternative to WPForms.
- Modula Image Gallery – create a gallery of your wedding photos.
- Gwolle Guestbook – create your own guestbook.
- Simple Wishlists for Weddings, Birthdays etc. – create a simple gift registry.
Depending on the theme that you chose, your theme might’ve already come bundled with some helpful plugins to achieve some or all of these features. For example, all of the WordPress wedding themes from above include form plugins to help you create your RSVP form.
If that’s the case, there’s no need to duplicate functionality by installing additional plugins that perform the same function.
You can install a WordPress plugin by going to Plugins → Add New in your WordPress dashboard.
6. Get Married
At this point, there’s only one thing left on your to-do list – get married!
Once you’re back from the honeymoon, you can upload your wedding photos to your website using a WordPress gallery plugin.
Final Thoughts on creating a Wedding Website
In the Internet age, a wedding website just makes things a whole lot easier. It’s easier to manage RSVPs, easier to distribute important information, and easier to share images and videos after you tie the knot.
For an easy and affordable way to get started, you can create your own wedding website on WordPress.
Depending on how you set things up, you can get the whole thing done for under $100. And, as long as you’re somewhat handy with how the Internet works, you should have no problems setting things up even if you’re not a tech guru.
Any other questions about how to create a WordPress wedding website? Let us know in the comments and we’ll do our best to help you out!