WPLift is supported by its audience. When you purchase through links on our site, we may earn an affiliate commission.
How To Manage Feature Requests In WordPress?
If you provide a product or a service, chances are you want your users to be able to suggest feature requests or ideas about ways to improve your product offering. More often than not, there’s no real system for managing feature requests. The most likely scenario is that your customers’ will email you with a request, and you either take a mental note or copy and paste it into a spreadsheet of unruly requests.
Having a system to manage and prioritize feature requests from your customers properly is going to save you a lot of time. On top of that, once one of your customers has submitted a request, any of your other customers can upvote the same request; this gives you a clear idea of which requests are most important to your customers.
What Kind of Businesses Can Benefit From Feature Requests?
Several different businesses can benefit from offering a simple feature request system. Most commonly, you will find software companies that have some kind of feature request system. However, feature requests can also be useful for the following types of businesses:
- Tech companies,
- WaaS (Websites as a Service) providers,
- Course makers,
- Internal company networks,
- SaaS (Software as a Service) companies,
- and anything you can think of, which benefits from community feedback!
Step 1: Install The Simple Feature Requests WordPress Plugin
The first step is to install the Simple Feature Requests plugin for WordPress.

Special offer: right now, and up until June 14th, you can get a lifetime license for only $149. This is a one-time payment, and the plugin can be used on unlimited websites.
Once you’ve purchased and downloaded the plugin, follow these steps to install and activate it.
- Navigate to your WordPress admin area.
- Click Plugins > Add New.
- Click Upload.
- Select the plugin zip file and then click Install Now.
- Once installed, click Activate.
You’ll then be redirected to the license activation screen. Enter the license key, which was sent to you after purchasing the plugin.
Step 2: Set Up The Feature Requests Archive Page
Once the plugin is installed and activated, you can create the feature requests archive page.

Article Continues Below
- Navigate to your WordPress admin area.
- Click Pages > Add New.
- Give your page a name, e.g., “Feature Requests.”
- For the content of the page, enter the shortcode `[simple-feature-requests].` If you’re using Gutenberg, you can use a shortcode block.
- Now, navigate to Requests > Settings > General.
- From the Archive Page dropdown, select the page you just created.
- From here, you can also configure the default request status, comments, notifications, and voting limits.
Your feature requests board is ready!
Navigate to the page you create on your website, and you find your very own feature requests board.

It’s possible to customize the display of your feature requests board, by using shortcodes and shortcode parameters, or any of the many action and filter hooks built into the plugin’s codebase.
Step 3: Ask Your Customers To Submit Feature Requests
Now that you’ve got the feature requests plugin set up on your WordPress website, you can start to ask your customers and users to submit feature requests.
There are several ways you could do this, including:
- send an email to all of your customers asking them to submit a feature request,
- manually enter or import any existing requests which you already have,
- start slow, and direct your users to the feature request board as and when they ask.
As feature requests begin to roll in, you will be notified via email. You can use this as a chance to review the feature request and set it to “Published.”
Once published, the request becomes visible to all of your website visitors on the feature requests archive page. Those visitors will now be able to vote on that request, saving you the headache of duplicate requests.
How To Submit a Feature Request
To submit a feature request, a website user needs to visit the feature requests archive on your site.
From here, they can start typing the title of their request. This also acts as a search field and will bring up any existing requests which seem related.
Article Continues Below


The user can then choose to vote on an existing request, or submit a new one.

Conveniently, they can log in or register an account at the same time as submitting their request.

The new request will be given the “Pending” status (based on your settings), ready for your review.

Step 4: Organise Your Feature Requests
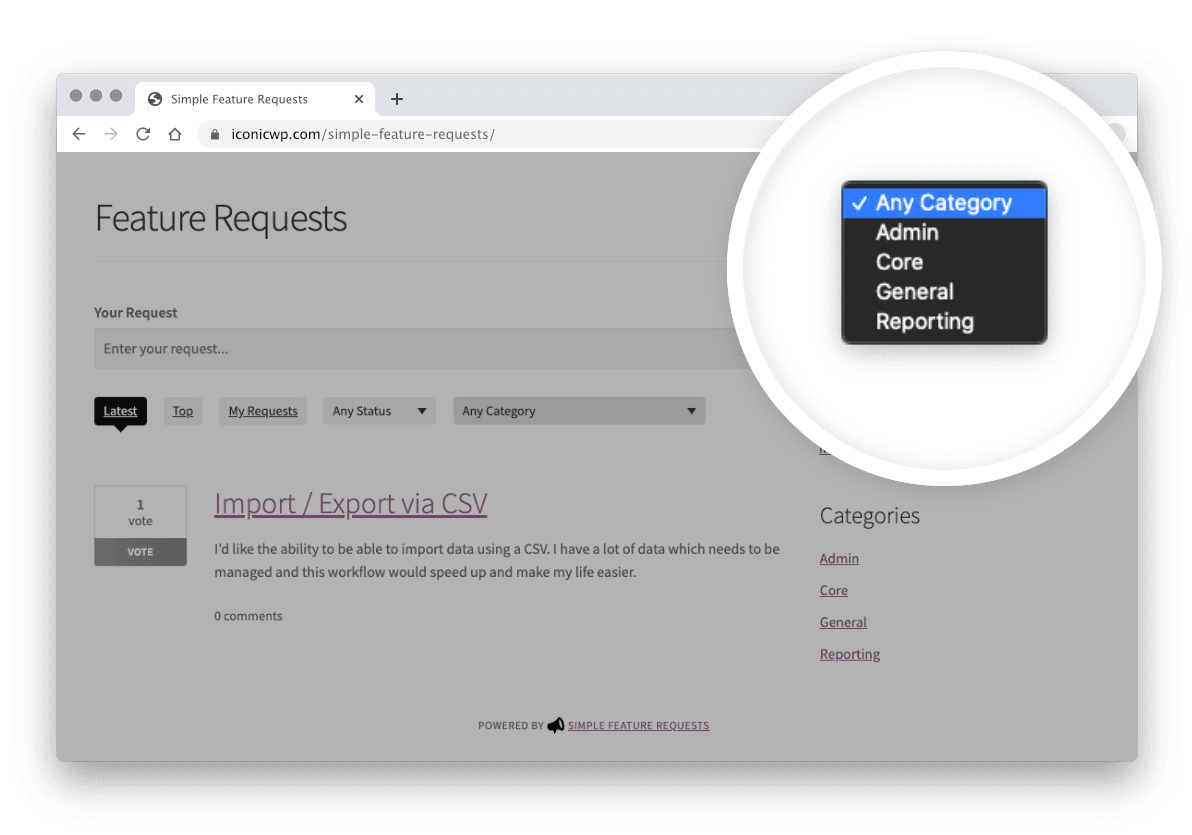
There are several ways to organize feature requests in your WordPress website. Some of these are automated, like top or recent requests, but you also have the opportunity to use request categories.
You can use categories to group feature requests into related topics. For example, if you sell several products, you could list each product as a separate category.
This will help to keep your feature requests organized.
Article Continues Below

You can also organize feature requests by their status. Users can filter the feature requests by a specific status, for example, to view all feature requests which are now completed.

Step 5: Prioritise Your Feature Requests
As a product owner, you can now use these feature requests to prioritize the further development of your product. Your time will no longer be spent managing the requests and updating users, but instead working on your product and pleasing your customers.
You can make decisions based on the complexity of the task, and how many of your users have requested it.
Once you’ve decided which feature requests to work on, you can change the feature request status and notify the author of that request, and all of the voters, of the status change.

Step 6: Create A Feature Roadmap
If you want to give your users a quick overview of what’s been worked on, you can use the roadmap shortcode.
The shortcode is fully customizable. You decide how many columns to display, which statuses you want to list, and how many requests should show for each status.

This is a great and fully automated way to keep your product users in the loop with the development of your product or service.
Your users can easily vote on any of the tasks in your roadmap and instantly be added to the list of people who will be notified when the request is complete or the status changes.

Make Better Product Decisions With Simple Feature Requests For WordPress
It’s clear to see the benefits that a well-maintained feature request board can bring to your product or service.
It’s time to stop trying to manage all of this manually and creating friction for users who simply want to give feedback about your product or service.
Grab yourself a copy of Simple Feature Requests and start making better product decisions based on community feedback, in less than 10 minutes.
Right now, and up until June 14th, you can get a lifetime license for only $149. This is a one-time payment, and the plugin can be used on unlimited websites.